Walls are not just structural elements; they are canvases waiting for creative expression. Masking tape, with its flexibility and ease of use, offers a low-cost, non-permanent way to transform plain walls into unique works of art without the need for costly renovations. This article explores various creative possibilities of using masking tape for wall art, with practical tips, design ideas, and step-by-step guidance to inspire your next DIY project.
1. Why Choose Masking Tape for Wall Art?
Masking tape, commonly known as painter’s tape, has several advantages that make it ideal for wall art projects:
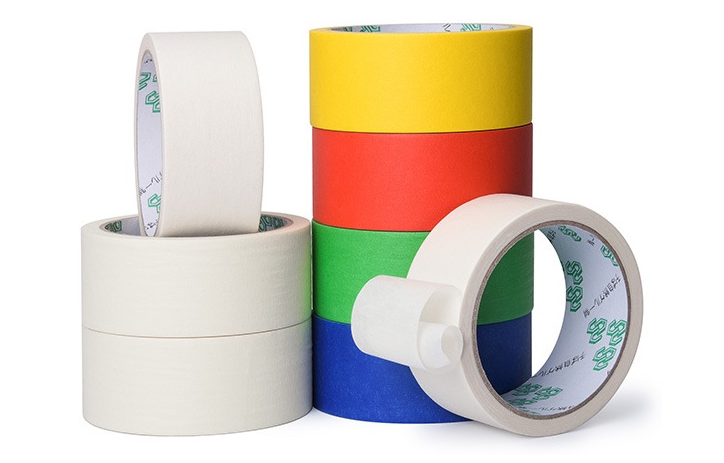
- Affordable and Easy to Find: Masking tape is inexpensive and widely available in different widths, colors, and patterns, making it accessible to everyone for DIY projects.
- Easy to Use and Remove: Unlike paint, which requires time to dry and precision in application, masking tape can be applied and adjusted quickly and easily. It leaves no residue upon removal, making it perfect for temporary projects or rented spaces where permanent changes aren’t allowed.
- Flexible for Various Design Styles: Whether creating straight lines, geometric patterns, or intricate shapes, masking tape can adapt to different styles, helping you achieve a fresh, creative look for your walls.
2. Basic Design Ideas for Masking Tape Wall Art
When using masking tape for wall art, you can start with the following ideas to create your unique designs:
- Geometric Patterns
Geometric patterns are one of the simplest and easiest design styles to create. With masking tape, you can make unique squares, diamonds, triangles, and other geometric shapes on your wall. Simple geometric designs have a strong visual effect and work well with other wall decor elements. - Color Blocking
Use masking tape to divide the wall into multiple color blocks, creating layers of visual interest. For example, divide a bedroom wall into an upper and lower section to create a sense of depth, or use color blocks to create specific designs, like mountains or suns, to bring a lively atmosphere to the room. - Striped Designs
Stripes are great for small spaces or narrow walls like hallways. You can choose horizontal, vertical, or diagonal stripes and use masking tape to separate each stripe area before painting. This simple design can add visual variation to a wall, giving the space more layers and texture. - Creative Shapes
If you feel confident in your design abilities, you can use masking tape to create more complex shapes, such as abstract patterns, animal silhouettes, or even a maze design. With masking tape’s flexibility, you can design shapes in any style you like.
3. How to Create Wall Art with Masking Tape
Here is a simple step-by-step guide to creating masking tape wall art, suitable for beginners.
-
- Prepare the Materials
Choose masking tape in the required width and color. Prepare paint (if needed), brushes, pencils, and a ruler. Ensure the wall surface is clean and dust-free so the tape can adhere better. - Measure and Plan
Use a pencil to lightly sketch the outline of your design on the wall. If creating a geometric pattern, use a ruler to mark each line’s position to ensure symmetry and accurate dimensions. - Apply the Masking Tape
Apply the masking tape along the outline. Make sure each edge of the tape is tightly adhered to the wall to prevent paint seepage. For multi-layer designs, complete one layer at a time, ensuring the previous layer’s paint has dried before applying the next layer of tape. - Paint the Design
When painting, apply gently along the tape’s edges to reduce the risk of paint bleeding underneath the tape. If using spray paint, slightly increase the width of the tape coverage to prevent overspray. - Allow to Dry and Remove the Tape
Wait until the paint is completely dry, then carefully remove the masking tape. Remove the tape at an angle to reduce pulling on the wall and ensure clean edges.
- Prepare the Materials
4. Creative Inspirations for Wall Art
If you’re unsure of what designs to create, here are some ideas to spark your creativity:
- Modern Minimalist Style
Use black, white, or gray masking tape on a light-colored wall to create simple geometric shapes, such as diagonal grids or square patches, adding a modern touch to your home. - Colorful Children’s Room
In a child’s room, use colorful masking tape to create fun patterns, like rainbows, stars, and clouds. This not only adds charm to the space but also lets kids participate in decorating, making the process enjoyable for them. - Faux Brick Wall Effect
Use masking tape to mimic the texture of a brick wall, then paint over it with brick red or light brown to create a unique vintage or rustic style. This design is perfect for rental spaces as it adds personality without altering the wall permanently. - Nature-Themed Designs
Create outlines of trees, mountains, or other natural elements with masking tape, and use gradient colors to fill them in, bringing a tranquil, nature-inspired atmosphere to your living room or bedroom.
Conclusion
Masking tape offers endless possibilities for wall art. Whether it’s simple geometric shapes or complex designs, masking tape can bring new life to walls. In home decor, this low-cost, easy-to-apply method can enhance the uniqueness of a space without worrying about damaging the wall. I hope this article provides you with inspiration to try masking tape wall art in your own home, adding color and creativity to your space.
This article helps readers understand the practical uses of masking tape and encourages them to explore various creative wall art designs in their homes.